
Understanding your website’s traffic and user behavior is crucial for making informed decisions to grow your online presence. Google Analytics is a powerful tool that provides these insights. Here’s how you can connect your WordPress site with Google Analytics.
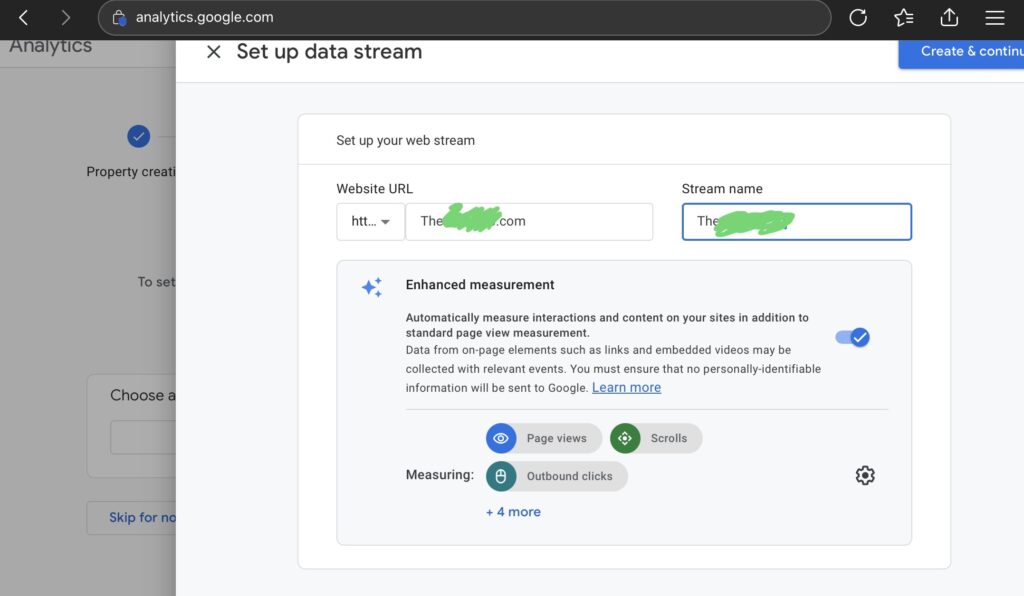
Step 1: Create a Google Analytics Account
- Sign Up: Go to the Google Analytics website and sign up using your Google account.
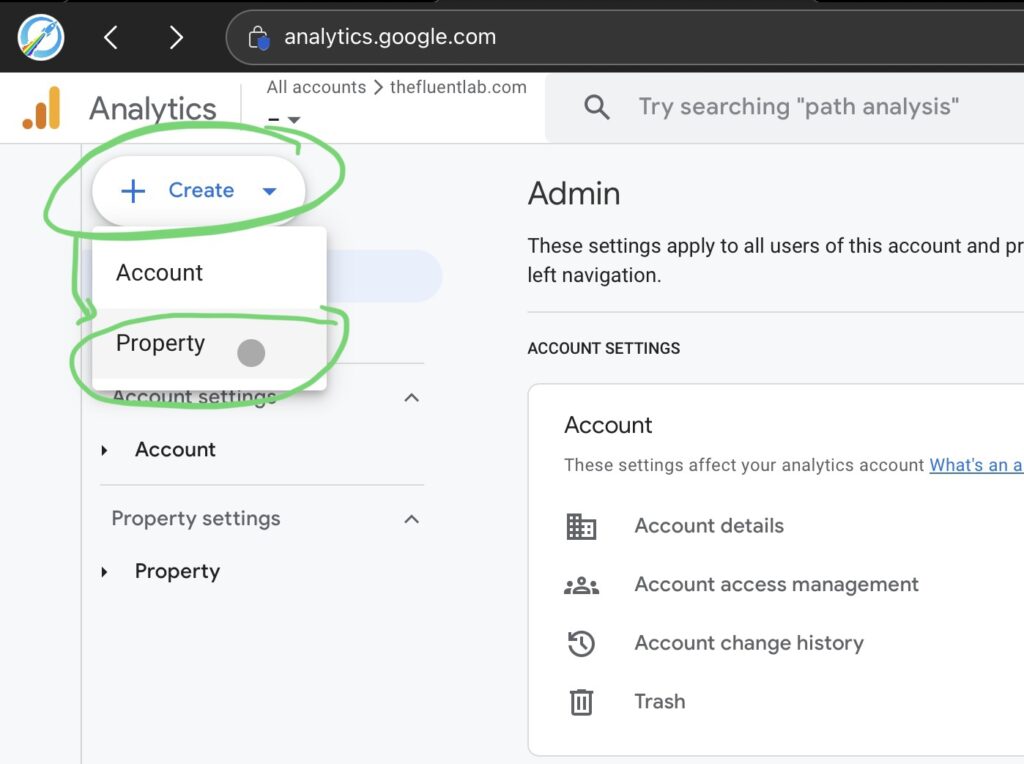
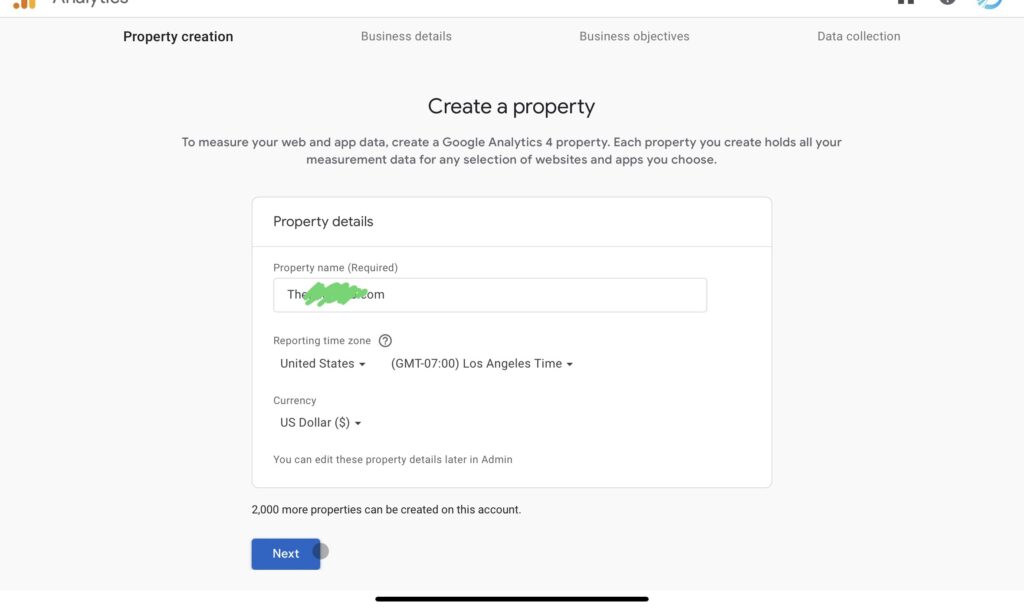
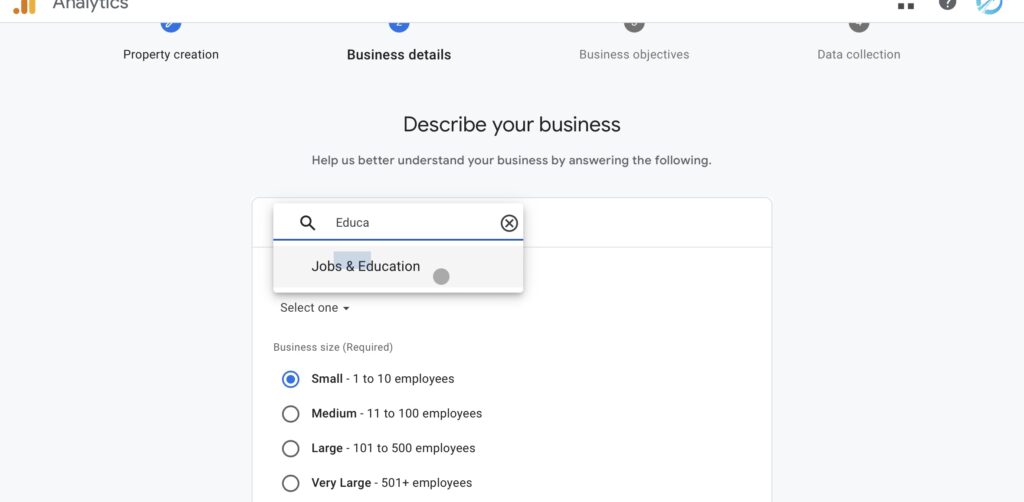
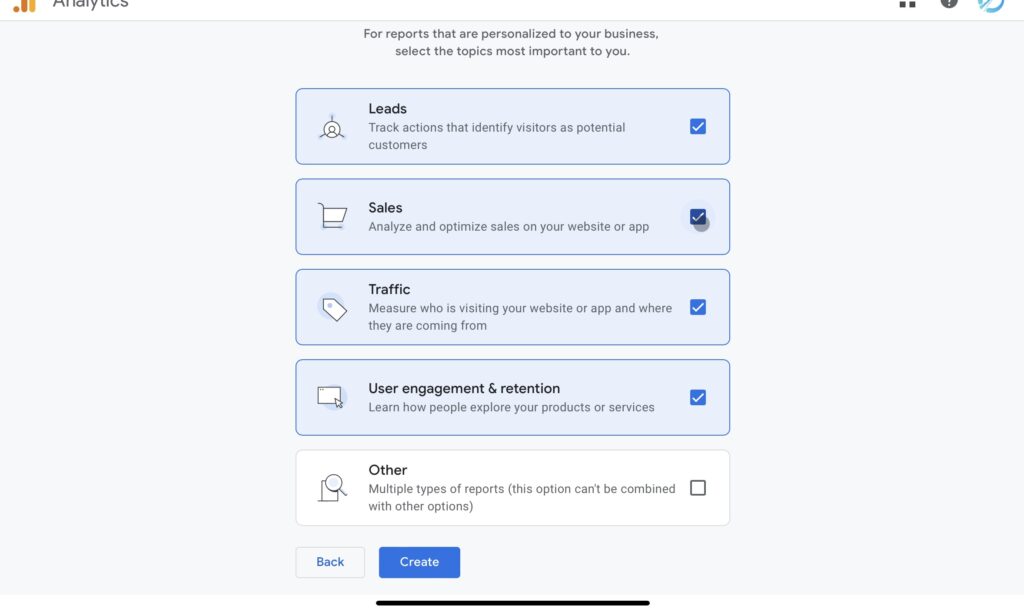
- Set Up a Property: Once signed in, click on the “Admin” tab. Under the “Property” column, click “Create Property” and enter your website details.
- Get Tracking ID: After setting up your property, you will receive a unique tracking ID and a piece of tracking code.
Step 2: Add Google Analytics to Your WordPress Site
There are several methods to add Google Analytics to your WordPress site. Here are the most common ones:
Method 1: Using a Plugin (Recommended)
- Install a Plugin: Go to your WordPress dashboard, navigate to Plugins > Add New, and search for “MonsterInsights” or “Site Kit by Google”.
- Activate the Plugin: Install and activate the plugin.
- Connect to Google Analytics: Follow the plugin’s setup wizard to connect your Google Analytics account. This usually involves logging into your Google account and granting the necessary permissions.
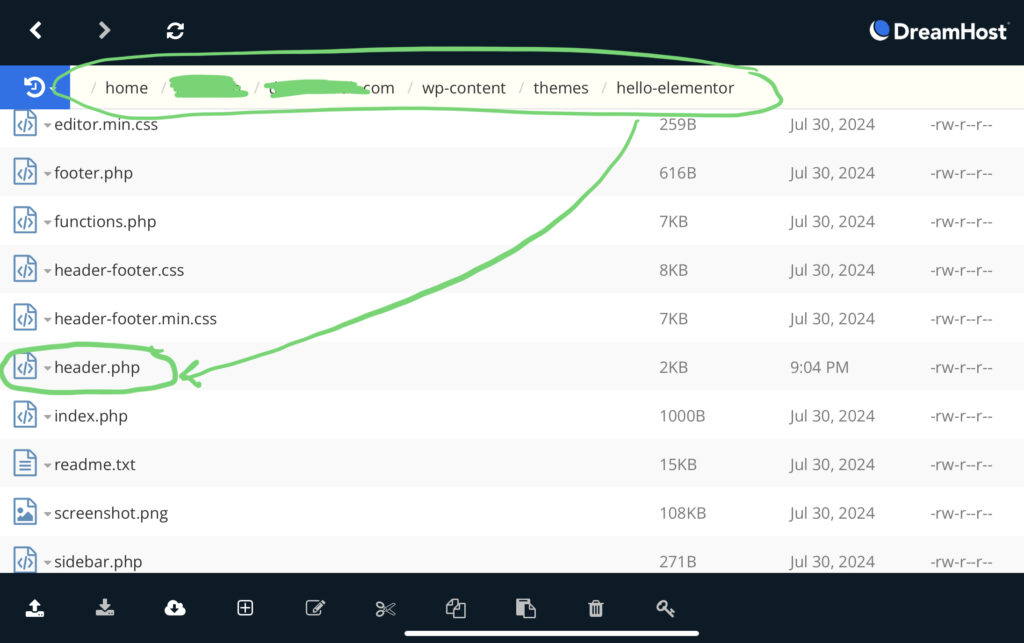
Method 2: Manually Adding the Tracking Code
- Copy the Tracking Code: From your Google Analytics account, copy the tracking code provided.
- Edit Header.php: In your WordPress dashboard, go to Appearance > Theme Editor, and select the
header.phpfile. - Paste the Code: Paste the tracking code just before the closing
</head>tag and save the changes.

Method 3: Using a Header/Footer Plugin
- Install a Plugin: Go to Plugins > Add New and search for “Insert Headers and Footers” by WPBeginner.
- Activate the Plugin: Install and activate the plugin.
- Insert the Tracking Code: Navigate to Settings > Insert Headers and Footers, and paste your Google Analytics tracking code into the “Scripts in Header” section. Save your changes.
Step 3: Verify the Installation
- Check Real-Time Data: Go back to your Google Analytics dashboard and click on “Real-Time” to see if your site is receiving data.
- Use Google Tag Assistant: Install the Google Tag Assistant Chrome extension to verify that the tracking code is correctly installed on your site.
Conclusion
Connecting Google Analytics to your WordPress site is a straightforward process that can provide invaluable insights into your website’s performance. Whether you choose to use a plugin or manually add the tracking code, the data you gather will help you make informed decisions to improve your site and grow your audience.